
How to Turn Training Notes into a Clear 2D Animation
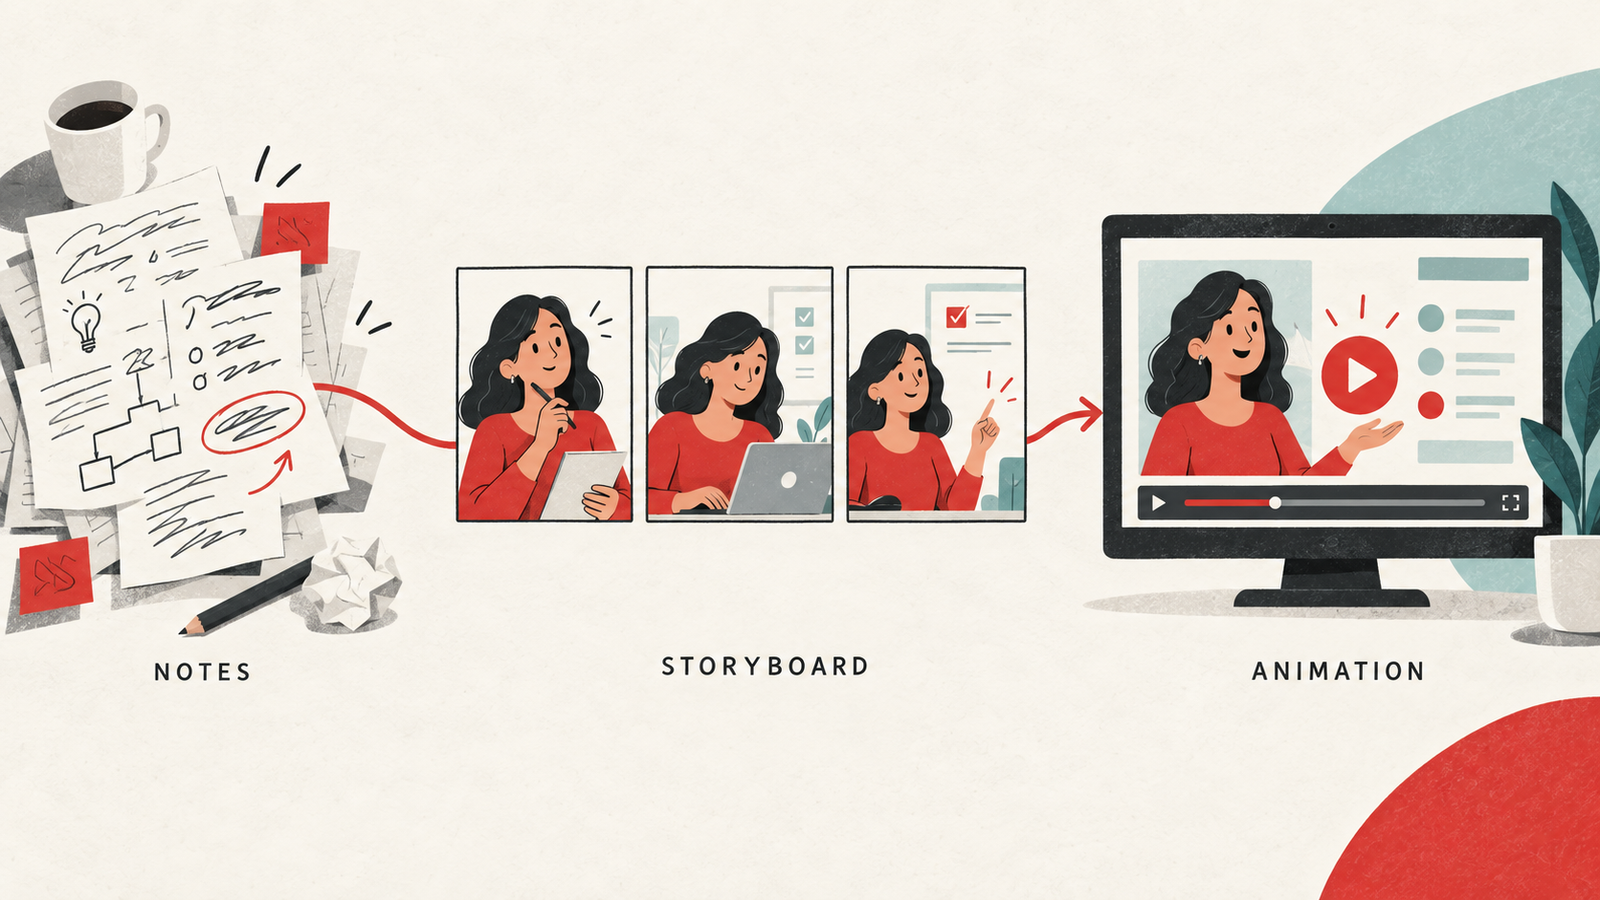
Your team already knows the subject. The challenge is turning that knowledge into a video someone can follow without a trainer beside them. A collection of slides, procedures and workshop notes is a useful starting point, but it needs a clear structure before animation begins.
For an effective training animation, start with one task the viewer should be able to perform. Build the script around that task, show the decisions that matter and give the learner a practical next step. Here is a useful approach for teams planning their first video or updating an existing training library.
1. Choose one learning objective
“Explain our entire onboarding process” is a broad assignment. “Show a new employee how to submit an expense claim” gives the production team something specific to design.
Write the objective as a sentence: “After watching, the learner should be able to…” If the answer contains several unrelated tasks, consider separate videos. Decide who is watching, what they already know and where they will use the information. An induction video for a new starter needs different context from a refresher for an experienced employee.
2. Prepare the source material
Gather the current procedure, presentation, product screenshots and any approved terminology. Identify which document is authoritative and who can resolve inconsistencies.
Mark outdated screenshots and examples before scripting. Remove personal or confidential information from demonstration materials, and agree which details can appear in the finished film. A subject specialist should confirm the accuracy of the content; the production team can then shape it into a clear story.
You do not need to arrive with a finished script. Well-organised notes, a defined objective and access to someone who understands the subject provide a practical starting point.
3. Turn the process into a situation
Instead of reading a policy aloud, show a person trying to complete the task. Establish the situation, demonstrate the right action and explain what happens next.
For example, an expense-claim animation could follow an employee returning from a business trip. The sequence might show where to find the form, what supporting information to attach and how to check that the request was submitted. Any deadlines or approval rules should come from the organisation’s own policy.
This is an illustrative structure, not a client case study. It shows how a familiar task can give the video a clear beginning, middle and end.
4. Choose visuals that explain the difficult part
Use 2D animation when simplified characters, diagrams or step-by-step illustrations make the process easier to show. Keep decorative motion secondary to the instruction.
If the learner must recognise real equipment or an exact physical action, filmed video may be more suitable. If the task happens in software, an approved screen recording can provide the necessary detail. A mixed approach can work when each format has a clear purpose.
Explore our 2D animation service
Explore video production
5. Review the storyboard before production
A storyboard pairs the planned visuals with the script. Use this stage to check the order of the steps, the accuracy of labels and whether each scene supports the learning objective.
Read the script aloud and allow time for viewers to understand a diagram or interface. Do not choose a short duration and then force every detail into it. Agree what belongs in the video and what is better provided in a supporting guide.
For multilingual versions, approve terminology early and allow room for translated text. Confirm whether the project needs translated captions, a new voice recording or both.
6. Plan accessibility from the start
Include captions, transcripts and any necessary description of visual information in the brief. W3C’s media guidance recommends planning accessibility early rather than adding it at the end. Captions should communicate relevant speech and non-speech audio, and automatic captions need review before release.
Check that important instructions remain understandable without relying on colour alone. Review text size and contrast, and test the finished video in the player or learning platform where people will actually watch it. The appropriate accessibility deliverables depend on the content and audience; captions alone do not resolve every accessibility need.
7. Test the lesson and plan for updates
Ask a reviewer who did not help write the script to watch the video and describe the next action. Their questions can reveal missing context that subject experts overlook.
Before sign-off, confirm factual accuracy, captions, audio, branding and the final export. Assign an owner to review the film when the underlying process changes. Keep an approved script and a record of the version so future updates have a reliable starting point.
Your briefing checklist
- Audience and one learning objective
- Current source material and subject reviewer
- Steps or decisions that must be shown
- Preferred style and useful references
- Languages and accessibility requirements
- Viewing platform and required formats
- Deadline, approval process and future content owner
A useful training animation starts with a clear teaching decision: what should the viewer understand or do differently? Once that is agreed, the script and visuals can work towards the same outcome.
Have training notes you would like to turn into a video? Book a Video Consultation with Rabbit And Carrot Video Production to discuss the content, audience and best production approach.